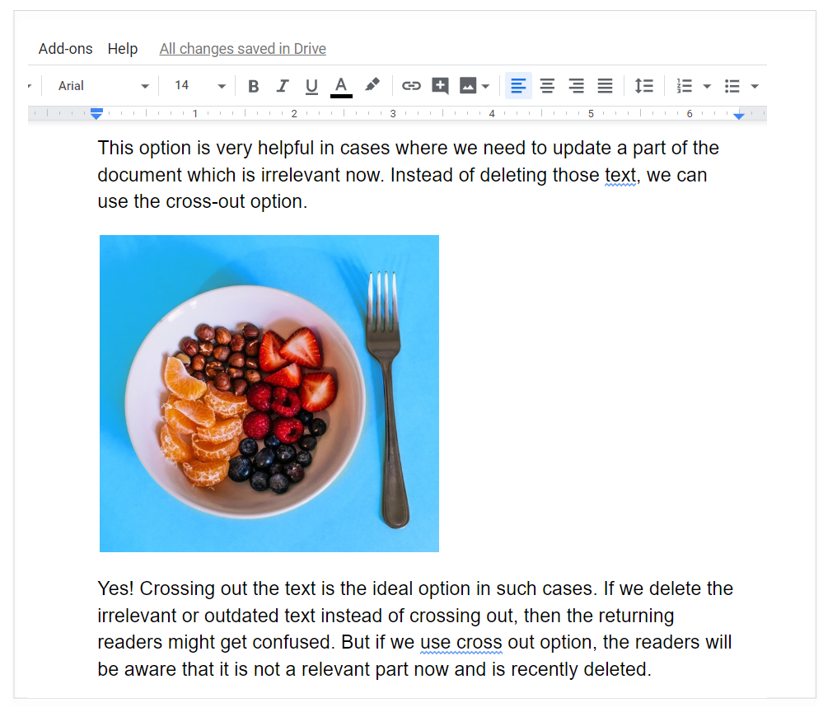
Do you want to flip, rotate or crop an image in Google docs? Don’t worry here is the simplest method to work it out.
What is flipping an image?
A flipped image is the mirror-reversal of an original image.
To be clear, rotating an image is not flipping an image. For Example, rotating an image by 180 degrees will rotate the image upside down. But flipping an image will just show its mirror image.
Google docs provide options to rotate an image as well as to flip an image across the horizontal axis.
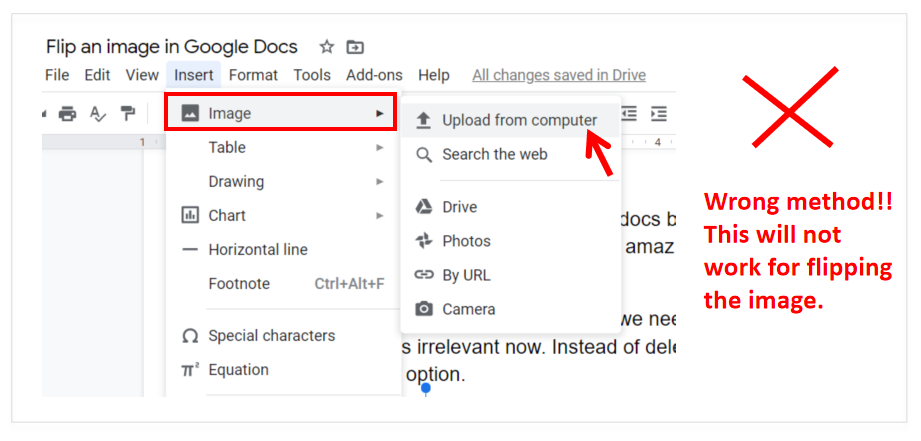
Notes: If you add an image to the doc by simply using the ‘copy & paste’ method or by clicking the ‘Insert’ menu -> ‘Image’ -> ‘Upload from computer’ option, then image flipping will not work.
Now let us see how to do the flipping of an image.
This is a simple guide with which it can be done in less than a minute.
Table of Contents
Steps to Add an Image in Google Docs
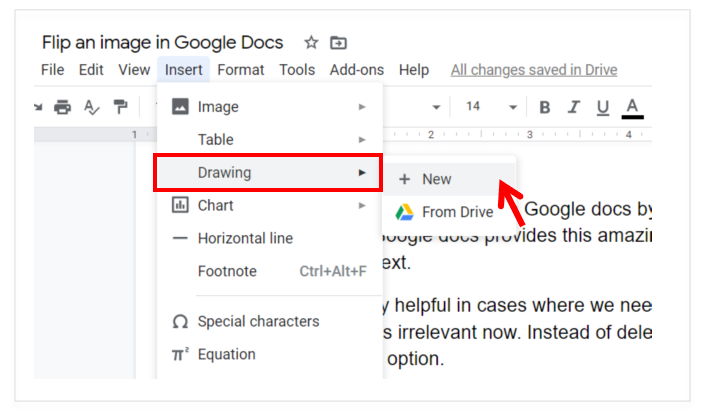
1) Go to the menu ‘Insert’
2) Click on ‘Drawing’ & then ‘+ New’
3) In the Drawing toolbar, click on the Image icon
4) Now upload the image from your drive
Steps to Flip an Image in Google Docs
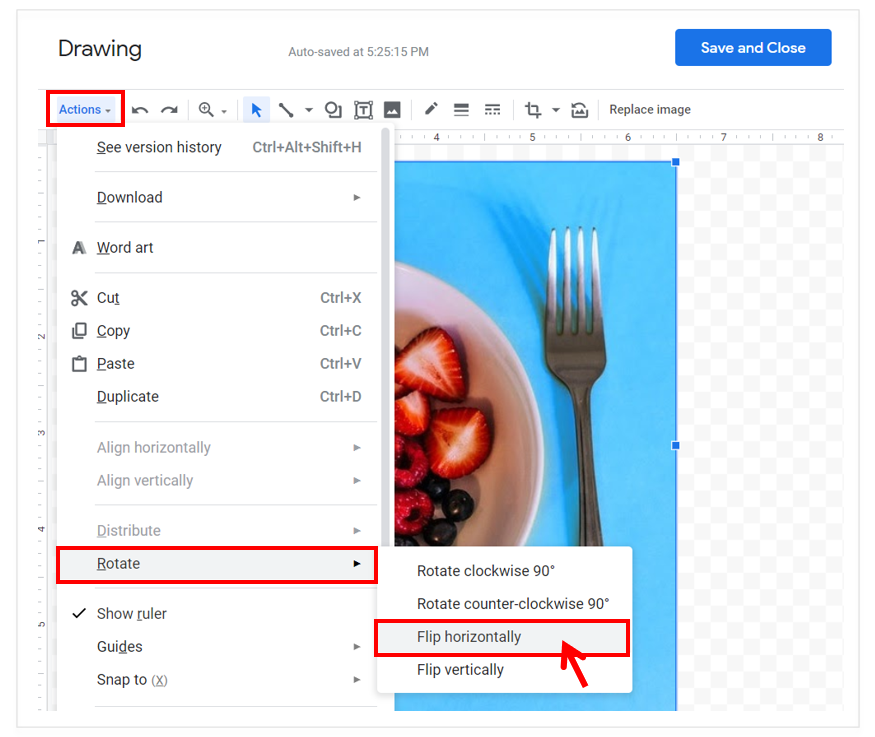
1) After adding an image, click on the ‘Actions’ menu
2) In the Action menu drop-down, select the ‘Rotate’ option
3) Click on ‘Flip horizontally’ option for flipping the image horizontally
4) Now click on ‘Save & Close’ button to add the flipped image into the doc
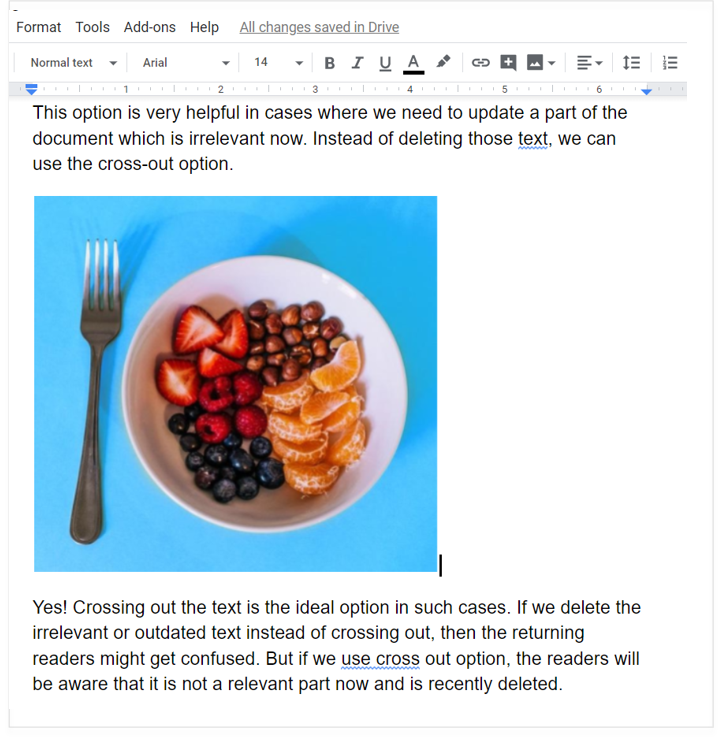
Similarly, you can use the ‘Flip vertically’ option for flipping the image vertically.
Steps to Rotate an Image in Google Docs
1) After adding an image, click on the ‘Actions’ menu
2) In the Action menu drop-down, select the ‘Rotate’ option
3) Now you have two options:
- Rotate clockwise 90°
- Rotate counter-clockwise 90°
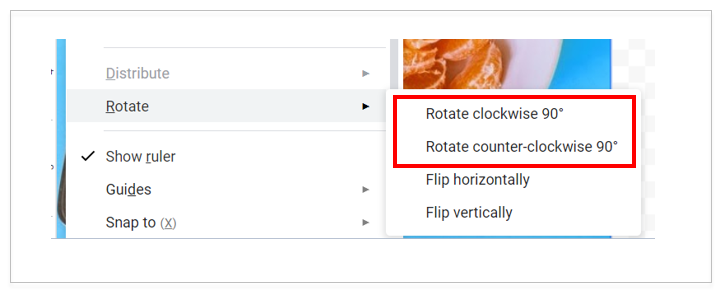
Choose any one of the above option as per your requirement for rotating the image.
4) After rotating, click on the ‘Save & Close’ button to add the rotated image into the doc.
Notes: To rotate an image to 180°, select the image and choose the option ‘Rotate clockwise 90°’ twice.
Similarly, to rotate an image to 270°, select the image and choose the option ‘Rotate clockwise 90° thrice.
Steps to Crop an Image in Google Docs
1) After adding an image, select the image and then click on the ‘crop image’ button
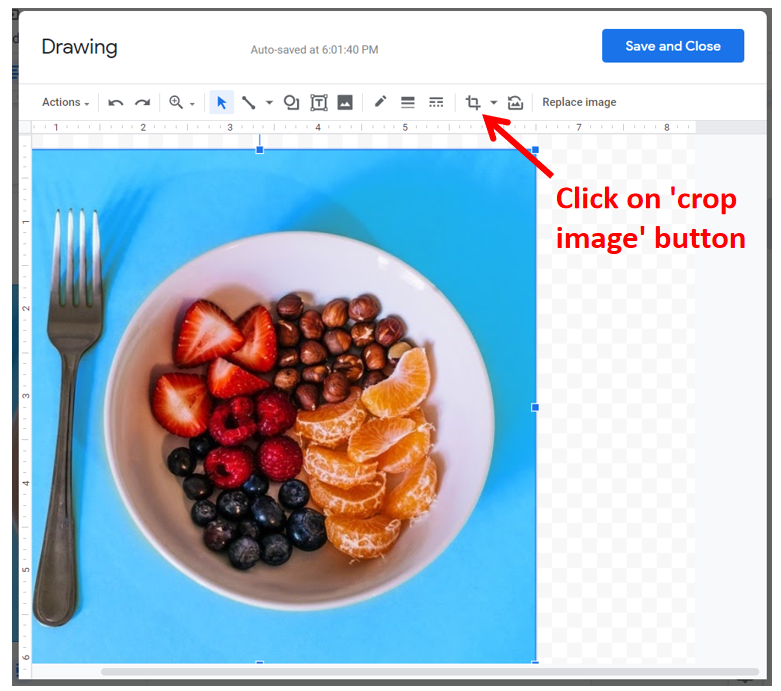
2) Now click and drag the horizontal or vertical border of the image for cropping.
3) After selecting the required portion of the image, click the mouse button anywhere outside the image to get the cropped image.
5) After cropping, click on ‘Save & Close’ button to add the cropped image into the doc
Crop Using Shapes in Google Docs
This is an interesting feature of Google docs image editing tool. With this tool, you can crop an image using the available shapes within the cropping tool
This option is available by clicking the drop-down button next to the Image crop tool.
The below shown is an image cropped using one of the shapes from the cropping tool.

Looks cool ain’t?
Steps to Add Image Caption in Google Docs
Do you want to add a caption for the image added to your Google doc?
Although there is no built-in method or tool for adding image captions, there is a workaround for it.
Follow the below steps for adding the image caption.
1) Add the image using the ‘Drawing’ toolbar
2) Click on the ‘Text box’ button
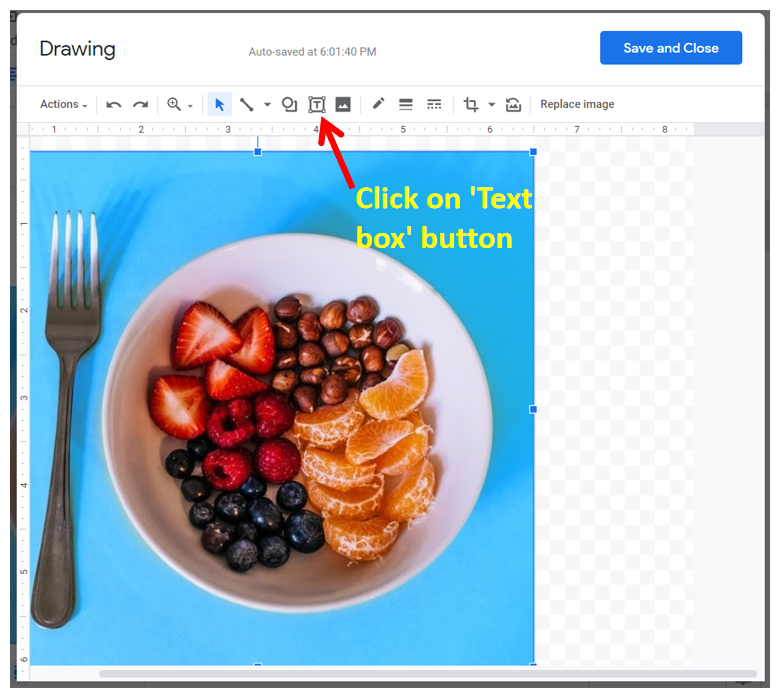
3) Click and drag the text box for adding the caption
4) Add the caption text inside the text box
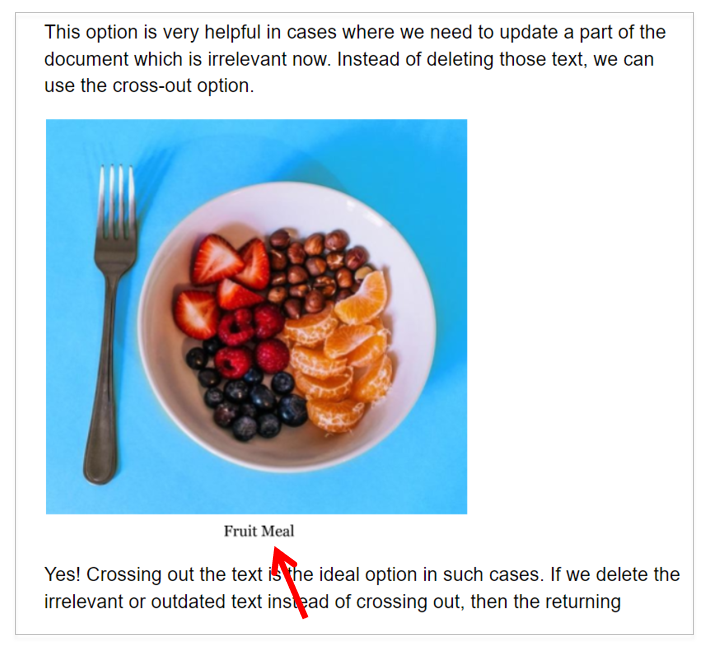
5) You can change the text color and font size
6) Now select and drag the text box beneath the image
7) After adding the caption, click on ‘Save & Close’ button to add the image with caption into the doc
Steps to Reset the Image in Google Docs
Let us see how to reset the edits!
Whatever changes we have done to the image using the ‘Drawing’ toolbar, there is an option to reset all the changes back.
1) In the ‘Drawing’ toolbar, select the image and click on the ‘Reset image’ button.
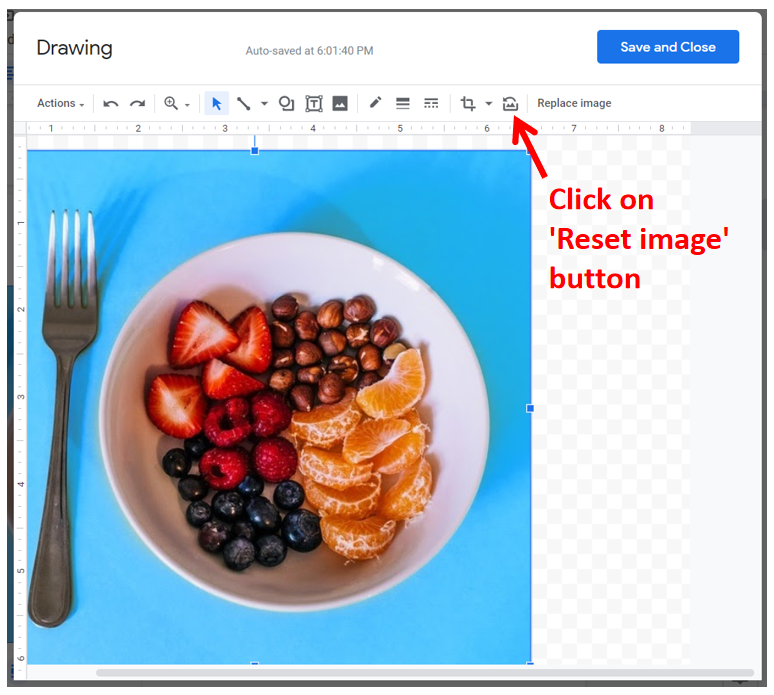
2) This will reset all the changes done for the image and retrieves the original uploaded image.
3) After resetting, click on ‘Save & Close’ button to add the original image into the doc
Google Docs Image Editor Features
Not only you can flip, rotate, crop or add a caption, but there are a lot of other image editing options inside the Google docs ‘Drawing’ toolbar.
Some of the main image editing options inside Google docs include:
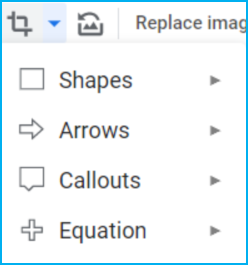
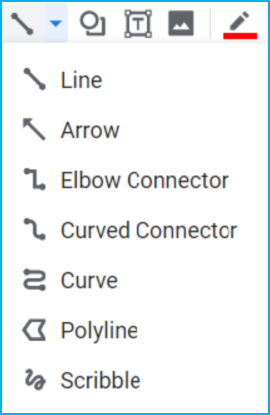
- Line Tools: Draw different types of lines on the image using this tool.
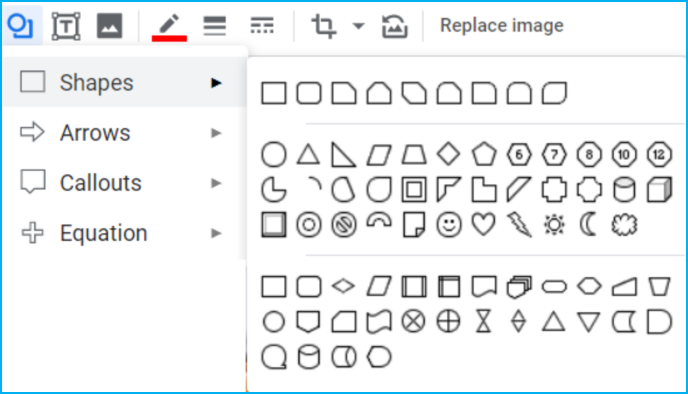
- Shape Tool: You can draw several shapes using this tool including arrows, callouts, equations, etc on the image.
- Border Tool: Create a border for an image using this tool. The border type, size, and color also can be edited here.

- Replace Image Tool: With this tool, you can replace the existing image with a new one.
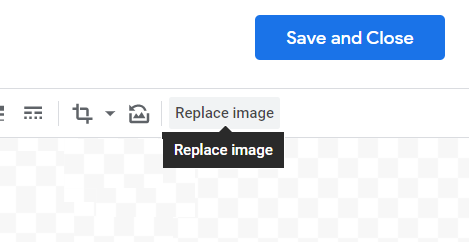
Image Above the Text in Google Docs
You might have seen some Google docs where there is an image above the text.
Have you ever wondered how to do that?
Follow these simple steps for adding an image above the text.
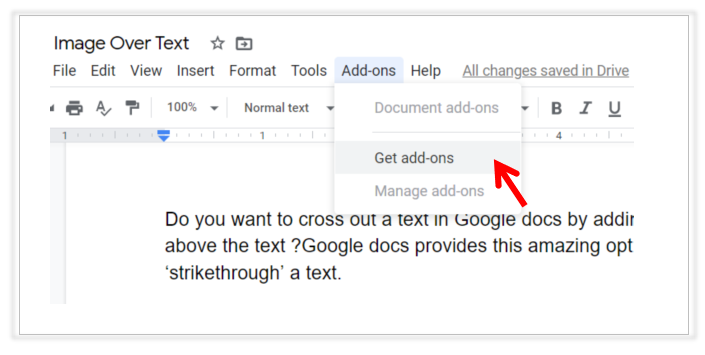
1) Go to the menu ‘Add-ons’ & click on ‘Get add-ons’
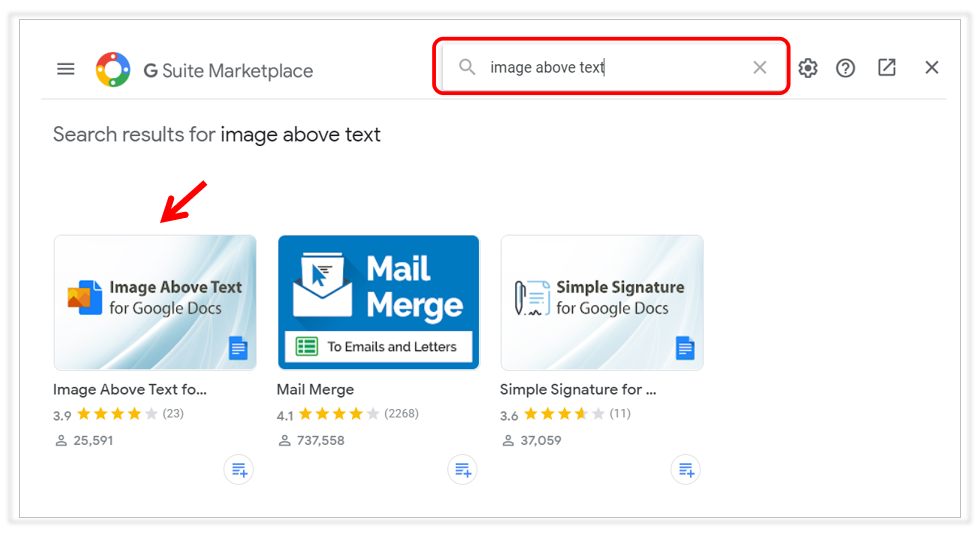
2) In the G Suite Marketplace search with the keyword “Image Above Text”
3) Select the first app in the search result named “Image Above Text for Google Docs” & install it.
4) Now add the image anywhere inside the doc which you want to place above the text. Also, make sure that the image added is ‘Inline with text’ in the text wrapping option which can be found in the right sidebar.
5) Now click on the image and go to the menu ‘Add-ons’ again and choose the add-on ‘Image Above the Text for Google Docs’
6) Now click on the sub-menu ‘Place selected image over the text’
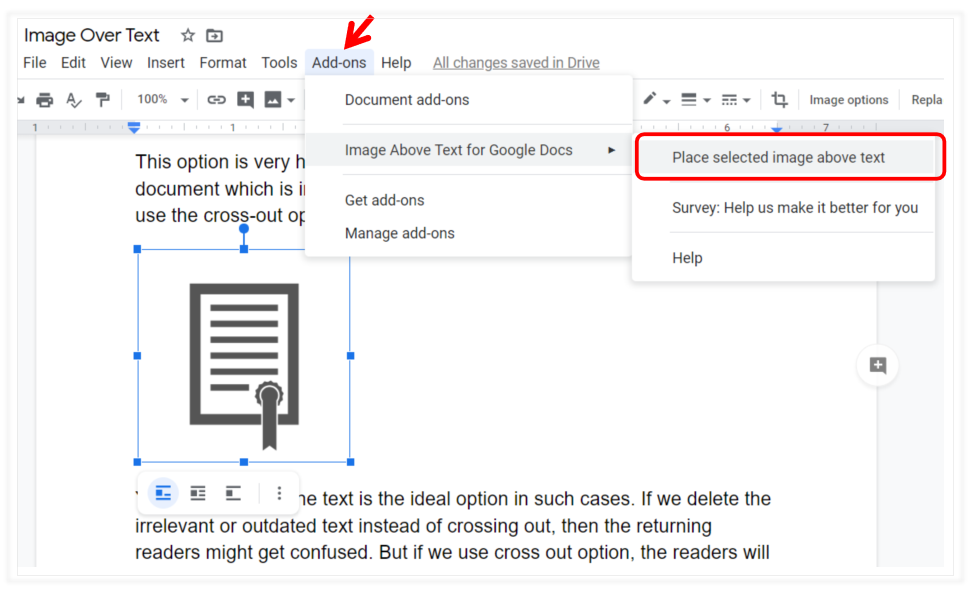
That it! Now you can see the image over the text.

You can also customize its position and size by just selecting and dragging.
You can read other popular How-to guides on Google Docs: